Setting up React with TypeScript in 2026 is simpler than it used to be, but the defaults still matter. A good setup should give you fast local development, strict type checking, useful linting, reliable tests, and a path to newer tooling without forcing beta software into your production build.
The practical baseline is straightforward: use React 19.2, TypeScript 6.0, Vite, ESLint flat config, Vitest, React Testing Library, and strict TypeScript settings. TypeScript 7 is already in beta through the native preview package, but for most teams it belongs in an optional validation lane until the stable release lands.
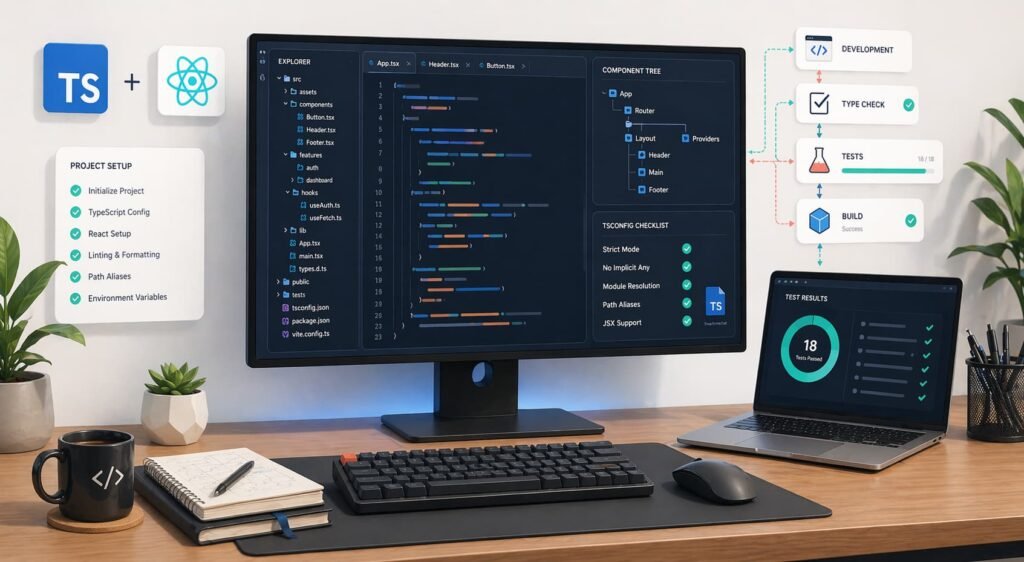
This guide walks through a complete setup you can use for a production React app in 2026.
The 2026 baseline: what to use
For a new React and TypeScript app in 2026, start with this stack:
| Layer | Recommended choice | Why |
|---|---|---|
| UI library | React 19.2 | Current stable React release with React 19 features and newer performance tooling |
| Language | TypeScript 6.0 | Stable release and bridge toward TypeScript 7 |
| Build tool | Vite | Fast dev server, modern ESM workflow, strong React templates |
| Type checking | tsc --noEmit | Vite transforms TypeScript but does not replace full type checking |
| Linting | ESLint flat config + typescript-eslint | Modern ESLint configuration model |
| Testing | Vitest + React Testing Library | Fast unit and component tests with TypeScript-friendly tooling |
| Optional validation | TypeScript 7 native preview | Useful for speed testing and migration prep, not required as the default compiler yet |
The important distinction is that Vite, React, and TypeScript each solve a different job. Vite runs and bundles the app. TypeScript checks your types. React renders the UI. Do not rely on the dev server alone to prove the code is type-safe.
Step 1: Create the React + TypeScript project
Start with Vite unless you specifically need a full-stack framework such as Next.js, Remix, or TanStack Start.
npm create vite@latest my-react-app -- --template react-ts
cd my-react-app
npm install
Run the development server:
npm run devThe react-ts template gives you a working React + TypeScript app with TSX support, Vite configuration, and React Fast Refresh. It is a better starting point than building the config from nothing.
If you use pnpm or Bun, the shape is the same:
pnpm create vite my-react-app --template react-tsbun create vite my-react-app --template react-tsStep 2: Upgrade and pin the core dependencies
After scaffolding, make sure your core packages are current.
npm install react@latest react-dom@latest
npm install -D typescript@latest @types/react@latest @types/react-dom@latest vite@latest @vitejs/plugin-react@latest
As of April 2026, React 19.2 is the stable React line to target. TypeScript 6.0 is stable, while TypeScript 7.0 is available as a beta through the native preview package.
Your package.json scripts should separate dev, build, type-checking, linting, and tests:
{
  "scripts": {
    "dev": "vite",
    "build": "tsc --noEmit && vite build",
    "preview": "vite preview",
    "typecheck": "tsc --noEmit",
    "lint": "eslint .",
    "test": "vitest",
    "test:run": "vitest run"
  }
}
The key detail is tsc --noEmit in the build script. Vite’s job is fast transformation and bundling. Full-program type checking still belongs to TypeScript.
Step 3: Use a strict tsconfig that matches modern React
Use strict mode from the beginning. Relaxing TypeScript later is easy; tightening a loose codebase after months of development is painful.
For a Vite React app, this is a strong starting tsconfig.app.json:
{
  "compilerOptions": {
    "target": "ES2022",
    "useDefineForClassFields": true,
    "lib": ["ES2022", "DOM", "DOM.Iterable"],
    "allowJs": false,
    "skipLibCheck": true,
    "esModuleInterop": true,
    "allowSyntheticDefaultImports": true,
    "strict": true,
    "noUncheckedIndexedAccess": true,
    "exactOptionalPropertyTypes": true,
    "forceConsistentCasingInFileNames": true,
    "module": "ESNext",
    "moduleResolution": "Bundler",
    "resolveJsonModule": true,
    "isolatedModules": true,
    "noEmit": true,
    "jsx": "react-jsx",
    "types": ["vite/client"]
  },
  "include": ["src"]
}
The most important settings are:
strict: turns on TypeScript’s core safety checks.noUncheckedIndexedAccess: makes array and object lookups honest aboutundefined.exactOptionalPropertyTypes: keeps optional props from being treated as “anything plus undefined.”moduleResolution: "Bundler": matches modern frontend bundler behavior.isolatedModules: catches patterns that do not work with per-file transforms.jsx: "react-jsx": uses the automatic JSX runtime, so you do not need to import React only to write JSX.types: ["vite/client"]: includes Vite’s client-side environment types.
If this feels strict, that is the point. A strict config catches the mistakes that otherwise turn into runtime bugs in forms, API responses, route params, and component props.
Step 4: Configure Vite for React
Your basic vite.config.ts can stay small:
import { defineConfig } from "vite";
import react from "@vitejs/plugin-react";

export default defineConfig({
  plugins: [react()]
});
Add path aliases only if they make the code easier to navigate. If you use an alias, keep TypeScript and Vite in sync:
import path from "node:path";
import { defineConfig } from "vite";
import react from "@vitejs/plugin-react";

export default defineConfig({
  plugins: [react()],
  resolve: {
    alias: {
      "@": path.resolve(__dirname, "src")
    }
  }
});
Then add the matching TypeScript configuration:
{
  "compilerOptions": {
    "paths": {
      "@/*": ["./src/*"]
    }
  }
}
Use aliases for stable app-level imports, not for every folder. Deep aliases can make refactors harder because they hide where code actually lives.
Step 5: Add ESLint with flat config
Modern ESLint uses flat config. Install the baseline packages:
npm install -D eslint @eslint/js typescript-eslint eslint-plugin-react-hooks globalsCreate eslint.config.mjs:
import js from "@eslint/js";
import globals from "globals";
import reactHooks from "eslint-plugin-react-hooks";
import tseslint from "typescript-eslint";

export default tseslint.config(
  {
    ignores: ["dist", "coverage"]
  },
  js.configs.recommended,
  ...tseslint.configs.recommendedTypeChecked,
  {
    files: ["**/*.{ts,tsx}"],
    languageOptions: {
      parserOptions: {
        projectService: true,
        tsconfigRootDir: import.meta.dirname
      },
      globals: {
        ...globals.browser
      }
    },
    plugins: {
      "react-hooks": reactHooks
    },
    rules: {
      ...reactHooks.configs.recommended.rules,
      "@typescript-eslint/consistent-type-imports": [
        "error",
        { "prefer": "type-imports" }
      ],
      "@typescript-eslint/no-floating-promises": "error",
      "@typescript-eslint/no-misused-promises": "error"
    }
  }
);
This setup catches real problems without turning ESLint into a formatting tool. Keep formatting in a formatter, and keep linting focused on correctness, safety, and maintainability.
If type-aware linting feels slow in a large app, split scripts:
{
  "scripts": {
    "lint": "eslint .",
    "lint:ci": "eslint . --max-warnings=0"
  }
}
Step 6: Add formatting
Use Prettier if your team already knows it:
npm install -D prettierCreate .prettierrc:
{
  "printWidth": 100,
  "semi": true,
  "singleQuote": false,
  "trailingComma": "none"
}
Add a script:
{
  "scripts": {
    "format": "prettier . --write",
    "format:check": "prettier . --check"
  }
}
Biome is also a reasonable choice if you want one fast tool for formatting and some linting, but do not mix competing formatters in the same project. Pick one and enforce it in CI.
Step 7: Add tests with Vitest and React Testing Library
Install Vitest and React Testing Library:
npm install -D vitest jsdom @testing-library/react @testing-library/dom @testing-library/jest-dom @testing-library/user-eventUpdate vite.config.ts:
import { defineConfig } from "vitest/config";
import react from "@vitejs/plugin-react";

export default defineConfig({
  plugins: [react()],
  test: {
    environment: "jsdom",
    setupFiles: "./src/test/setup.ts",
    globals: true,
    css: true
  }
});
Create src/test/setup.ts:
import "@testing-library/jest-dom/vitest";If you use Vitest globals such as describe, it, and expect, add Vitest types to your test tsconfig or main config:
{
  "compilerOptions": {
    "types": ["vite/client", "vitest/globals"]
  }
}
Now write a simple component test:
import { render, screen } from "@testing-library/react";
import { describe, expect, it } from "vitest";
import { PrimaryButton } from "./PrimaryButton";

describe("PrimaryButton", () => {
  it("renders the button label", () => {
    render(<PrimaryButton>Save changes</PrimaryButton>);

    expect(screen.getByRole("button", { name: "Save changes" })).toBeInTheDocument();
  });
});
Prefer tests that describe user-visible behavior. Avoid tests that check component internals, private state names, or implementation details that users cannot observe.
Step 8: Use a project structure that scales
A small React app does not need an elaborate architecture. It needs clear boundaries.
Start with this:
src/
  app/
    App.tsx
    routes.tsx
  components/
    ui/
    layout/
  features/
    auth/
      components/
      hooks/
      api/
      types.ts
    dashboard/
      components/
      hooks/
      api/
      types.ts
  lib/
    api-client.ts
    env.ts
  test/
    setup.ts
  main.tsx
Use features/ for domain-specific code and components/ for reusable UI. Do not put every component into a global components folder. If a component only belongs to billing, authentication, onboarding, or reporting, keep it inside that feature.
For types, prefer local ownership:
features/invoices/types.tsUse global shared types only when they truly cross feature boundaries.
Step 9: Decide whether to enable React Compiler
React Compiler is a build-time optimizer that can reduce the need for manual memoization. It is designed to work best with React 19, and React’s docs recommend incremental adoption when you are not ready to enable it everywhere.
Install it:
npm install -D babel-plugin-react-compiler@latestThen configure it through your React build plugin only after checking the current Vite plugin support and your app’s compatibility. For teams, the safer rollout is:
- Run the React Hooks lint rules and fix violations.
- Enable the compiler in a small route or package first.
- Watch for behavior changes around impure render logic.
- Expand after tests and performance traces look clean.
Do not add useMemo, useCallback, and React.memo everywhere “just in case.” In 2026, the better default is to write pure components, measure performance, and memoize only where it solves a real rendering problem.
Step 10: Add TypeScript 7 as an optional validation lane
TypeScript 7.0 Beta is available through the native preview package:
npm install -D @typescript/native-preview@betaYou can run it with:
npx tsgo --noEmitUse this as an extra check, not as the only compiler in production CI yet:
{
  "scripts": {
    "typecheck": "tsc --noEmit",
    "typecheck:native": "tsgo --noEmit"
  }
}
This gives you a low-risk way to measure the speed benefits and catch migration issues early. If tsgo finds differences, fix the underlying code instead of muting the errors. The goal is to be ready for stable TypeScript 7, not to chase beta behavior in production.
Common setup mistakes to avoid
Mistake 1: Assuming Vite type-checks the app
Vite transforms TypeScript quickly, but transformation is not full type checking. Always run tsc --noEmit in CI and before production builds.
Mistake 2: Keeping TypeScript loose because the app is small
Small apps become large apps quietly. Start strict, especially for optional props, API results, and indexed access.
Mistake 3: Using legacy ESLint config in a new project
Use flat config for new React projects. It is the modern ESLint path and works well with typescript-eslint.
Mistake 4: Overusing React.FC
You usually do not need React.FC. Type props directly:
type ButtonProps = {
  children: React.ReactNode;
  onClick: () => void;
};

export function Button({ children, onClick }: ButtonProps) {
  return <button onClick={onClick}>{children}</button>;
}
This keeps component signatures simple and avoids unnecessary assumptions about children.
Mistake 5: Testing implementation details
Test what the user can see and do. A test that survives refactoring is more valuable than one that knows a component’s internal state shape.
Final production checklist
Before you treat the setup as production-ready, confirm:
npm run buildrunstsc --noEmitbeforevite build.npm run lintpasses with ESLint flat config.npm run test:runpasses in CI.strict,noUncheckedIndexedAccess, andexactOptionalPropertyTypesare enabled.- TSX uses the automatic JSX runtime.
- React Hooks lint rules are enabled.
- Environment variables are validated before use.
- Feature code lives near the feature that owns it.
- TypeScript 7 native preview is optional until stable.
- React Compiler is adopted incrementally, not blindly.
FAQ
Use TypeScript 6.0 as the stable production default and test TypeScript 7.0 Beta through the native preview package if you want to prepare early. TypeScript 7 is promising because of its Go-based native implementation and major speed improvements, but beta software should not be the only compiler protecting a production app.
Vite remains a strong default for client-rendered React apps, internal tools, dashboards, component libraries, and frontend-heavy products. Choose a full-stack framework instead when you need server rendering, file-based routing, server actions, or platform-level deployment features.
No. With `jsx: “react-jsx”`, TypeScript uses the automatic JSX runtime. You still import React types such as `ReactNode` when you use them, preferably as type-only imports.
Not automatically. React Compiler is worth testing, especially in React 19 apps, but enable it incrementally. Fix Hooks rule violations first, then roll it out to a small part of the app and validate behavior with tests and profiling.
For most Vite React apps, use Vitest, React Testing Library, `@testing-library/jest-dom`, and `jsdom`. This setup is fast, TypeScript-friendly, and focused on user-visible behavior.
Conclusion
A modern React TypeScript setup in 2026 should be strict, fast, and boring in the right places. Use stable React and TypeScript for the mainline build, keep Vite focused on development and bundling, let tsc --noEmit enforce type safety, and use ESLint and tests to catch the mistakes TypeScript cannot see.
The best setup is not the one with the most tools. It is the one your team can run every day without thinking: dev server, type-check, lint, test, build, ship.